
Flash Photography Makeup Mistakes: How Professionals Create Camera-Ready Skin
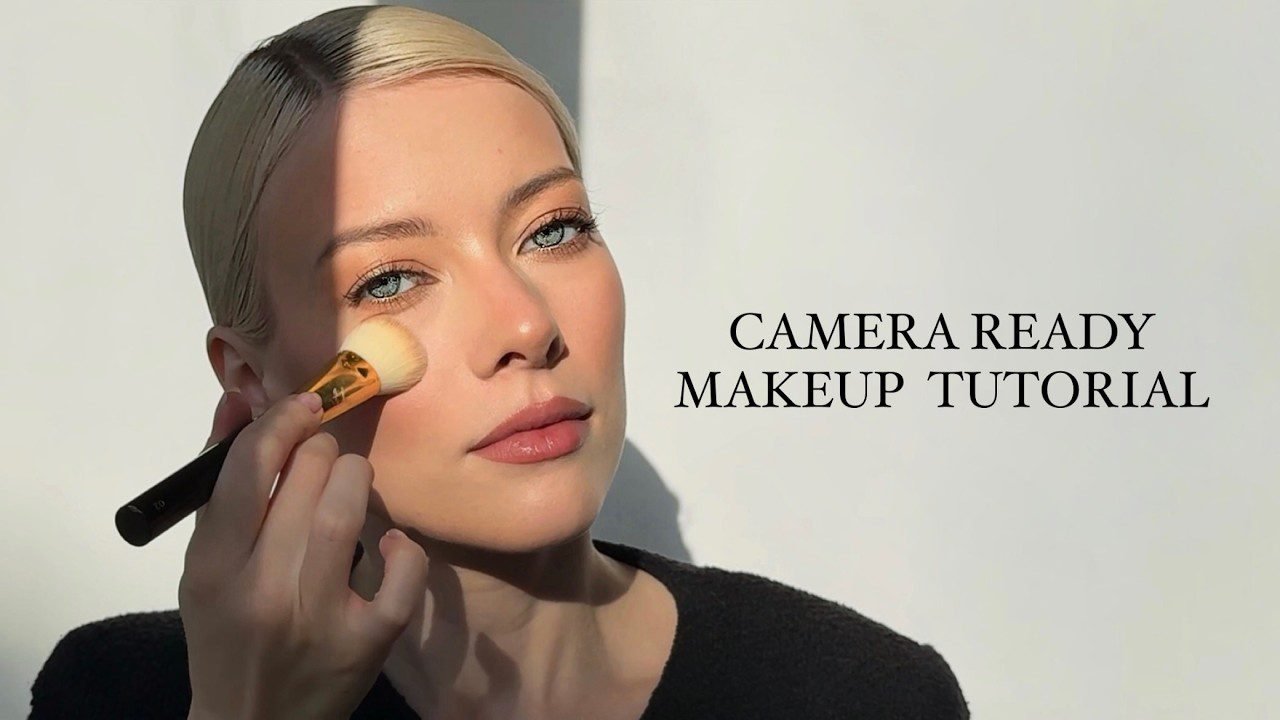
Learn how to prevent flashback, control shine and create balanced, camera-ready makeup for bridal photography.
Makeup that looks flawless in the mirror can appear very different in photographs. Direct flash may emphasise shine, reveal uneven blending or make certain areas of the face look lighter than the rest. For bridal makeup artists, understanding how products respond to camera flash is an important part of creating a polished, camera-ready finish.
Whether you are preparing a bride for wedding portraits, a client for an event or a model for a photoshoot, the goal is not to apply more makeup. It is to use the right products, apply them in controlled layers and test the finished look under suitable lighting.
What Is Makeup Flashback?
Flashback in makeup is the pale, grey or whitish cast that may appear on the skin in photographs taken with flash. It can be more noticeable around the forehead, under-eyes, cheeks and areas where products have been applied heavily.
Flashback can be influenced by the ingredients in powders and complexion products, the amount applied, how the products interact and the camera’s lighting. Ingredients such as silica or certain sunscreen filters are sometimes associated with flashback, but no single ingredient guarantees that a product will cause it. The complete formula, application and lighting all matter.
A product that photographs well in one setting may look different under another camera or flash strength. This is why testing the finished makeup is more reliable than judging a product by its label alone.
Common Flash Photography Makeup Mistakes
1. Applying Too Much Powder
Powder helps set makeup and control shine, but applying too much can make the complexion look dry, heavy or textured. Excess product may settle into fine lines and become more visible in close-up photographs.
Professional tip: Apply a small amount of finely milled powder only where it is needed, such as the sides of the nose, centre of the forehead or under-eye area. Press or sweep it on lightly, remove visible excess and check the result in a test photo.
2. Choosing the Wrong Foundation Shade
A foundation that does not match the face, jawline and neck can look obvious in photos. A shade may appear suitable under warm indoor lighting but look too pink, yellow, grey or dark in daylight or flash photography. Undertone mismatch can be especially noticeable in bridal portraits.
Professional tip: Test a few suitable shades along the jawline and allow them to settle before deciding. Check the match in natural light and under lighting similar to the event. Blend foundation down the jawline where appropriate so there is no visible line between the face and neck.
3. Ignoring Excess Shine
Oily areas can reflect direct flash and appear brighter than the surrounding skin. This can make the forehead, nose and cheeks look uneven, even when the foundation shade is correct. On the other hand, over-powdering the entire face can create a flat, dry finish.
Professional tip: Start with skincare suited to the client’s skin type, choose a compatible primer and control shine only in areas that need it. Blot excess oil before adding a light layer of powder instead of repeatedly layering products over the whole face.
4. Skipping the Camera Test
Checking makeup only in a mirror can miss issues that become obvious in photographs. Flash can reveal powder residue, poorly blended contour, harsh concealer edges, visible foundation lines or shine that was not noticeable to the naked eye.
Professional tip: Take test photographs from the front and from different angles. Review the images on the camera or phone screen, then correct only the areas that need attention. Test the makeup with flash as well as in the ambient light expected at the event.
5. Using Too Many Product Layers
Applying more foundation, concealer, contour and powder does not automatically create better HD bridal makeup. Heavy layers can emphasise texture and make blending more difficult, especially in close-up photography.
Professional tip: Build coverage gradually. Use thin layers, blend the edges carefully and add extra coverage only where required. Allow each layer to settle before deciding whether more product is necessary.
6. Making Last-Minute Product Changes
Trying an unfamiliar foundation, powder or primer immediately before a wedding or photoshoot introduces unnecessary uncertainty. Products may react differently when layered together, and the result may not be visible until the makeup is photographed.
Professional tip: Test the complete combination of skincare, primer, foundation, concealer and setting products in advance. Keep a record of the products and shades used for the trial so the final application can be reproduced consistently.
How Professionals Create Camera-Ready Makeup
Step 1: Prepare the Skin
Begin with clean skin and use moisturiser appropriate for the client’s skin type. Allow skincare to absorb before moving to primer and foundation. Good preparation helps makeup sit more evenly, but avoid adding unnecessary layers that may cause products to slip or separate.
Step 2: Match Foundation in Suitable Lighting
Check the complexion product against the face and neck rather than relying only on the colour in the bottle or on the hand. Consider both skin depth and undertone. Review the shade in natural light and, when possible, in lighting similar to the photography setting.
Step 3: Build Coverage in Thin Layers
Apply foundation in light, even layers and blend carefully around the jawline, hairline and sides of the nose. Use concealer selectively rather than covering the entire face with a thick layer. A balanced finish should look even in person and remain natural in close-up images.
Step 4: Set Strategically
Use powder where makeup tends to crease or become shiny. Press a small amount into the skin where needed, then remove any visible excess. The amount of powder should suit the client’s skin, the products used and the finish required—not a fixed rule for every face.
Step 5: Test the Finished Look
Take photographs with and without direct flash. Inspect the under-eyes, forehead, nose, cheeks and jawline for pale patches, excess shine, texture or uneven colour. Make small corrections and take another photo to confirm the result.
Step 6: Keep the Event Conditions in Mind
Bridal makeup may be photographed outdoors, in a dim venue, under warm lights and with direct flash. Ask about the event setting and prepare a simple touch-up plan. Blotting papers and a small amount of suitable powder can help manage shine without adding heavy layers.
Camera-ready makeup is created through careful preparation, accurate shade matching, controlled application and testing—not by using the most product.
Why Professional Makeup Artist Training Matters
Learning professional makeup involves more than applying products. Artists need to understand complexion matching, undertones, skin preparation, product compatibility, blending and how lighting affects the final result. Practising on different skin tones and reviewing photographs helps learners identify issues that may not be obvious in a mirror.
For aspiring artists, hands-on training can build confidence in preparing bridal and camera-ready looks, selecting products thoughtfully and adapting techniques to individual clients. HD bridal makeup should still look balanced and well blended in person—not only through a camera lens.
Explore Deepthi Makeup Academy to learn more about makeup training and practical techniques. You can also review the academy’s professional makeup course and bridal makeup training options.
For creator-focused guidance on publishing and improving content on Instagram, visit the official Instagram Best Practices resource.
Frequently Asked Questions
What causes flashback in makeup?
Flashback is a pale or whitish cast that appears in flash photographs. It can depend on the product formula, how much product is applied, how products are layered and the lighting conditions. Testing the complete look is the best way to identify problems.
Does SPF always cause makeup flashback?
No. Not every product containing SPF causes flashback. The result depends on the formula, application and camera conditions, so test the actual products and finished makeup before the event.
How can I prevent flashback in bridal makeup?
Use products suited to the client’s skin, apply powder sparingly, blend foundation to match the face and neck, and take test photographs with direct flash. Make corrections based on the photos rather than adding more product automatically.
How do I stop my face from looking shiny in photos?
Prepare the skin appropriately, use a compatible primer, blot excess oil and apply a small amount of powder to shiny areas. Avoid repeatedly layering powder across the entire face, as this can emphasise texture.
Why is a camera test important for HD bridal makeup?
A camera test can reveal visible powder, uneven blending, shade differences and shine that may not be obvious in a mirror. Testing with the expected lighting helps artists make small, targeted adjustments before the event.
Want to Master Camera-Ready Makeup?
Build your understanding of shade matching, skin preparation, HD bridal makeup and professional application techniques with guidance from Deepthi Makeup Academy.
Contact Deepthi Makeup Academy to explore makeup artist training options in Hyderabad.